
How a challenge runs
Challenge slots live in the same pool as main-pool cutscenes, but they do not play a cinematic. Picking a challenge slot from a Cutscene Block teleports you straight into the Challenge dimension with the arena set up for that route. Clear it and you earn the bead the same way a regular scene would.
Every successful clear awards the Challenge Steam achievement.
The six temples
Six temples are wired into the shipped main scene. Each is an independent arena with its own room layout and block set, though are all primarily made of lavender blocks. The cutscene pool randomly picks an unfilled slot the same way it picks regular cutscenes. Every temple awards the same on a clear: a rosary bead, a Tiamana drop, and the Challenge achievement.
Accelo Temple
Named after its liberal use of accelo blocks. One of the more difficult of the temples without proper tools. With a rope tool and glider glove the platforming can be made more forgiving and falls from the temple can be recovered. The longer the rope tool's range, the easier the course can be, as you are able to skip large sections or even the entirety of the temple using a mudra or gyro hook. Without a rope tool, hold forward and don't use the glider glove on the accelo ring straightaways for the most consistent crossing.
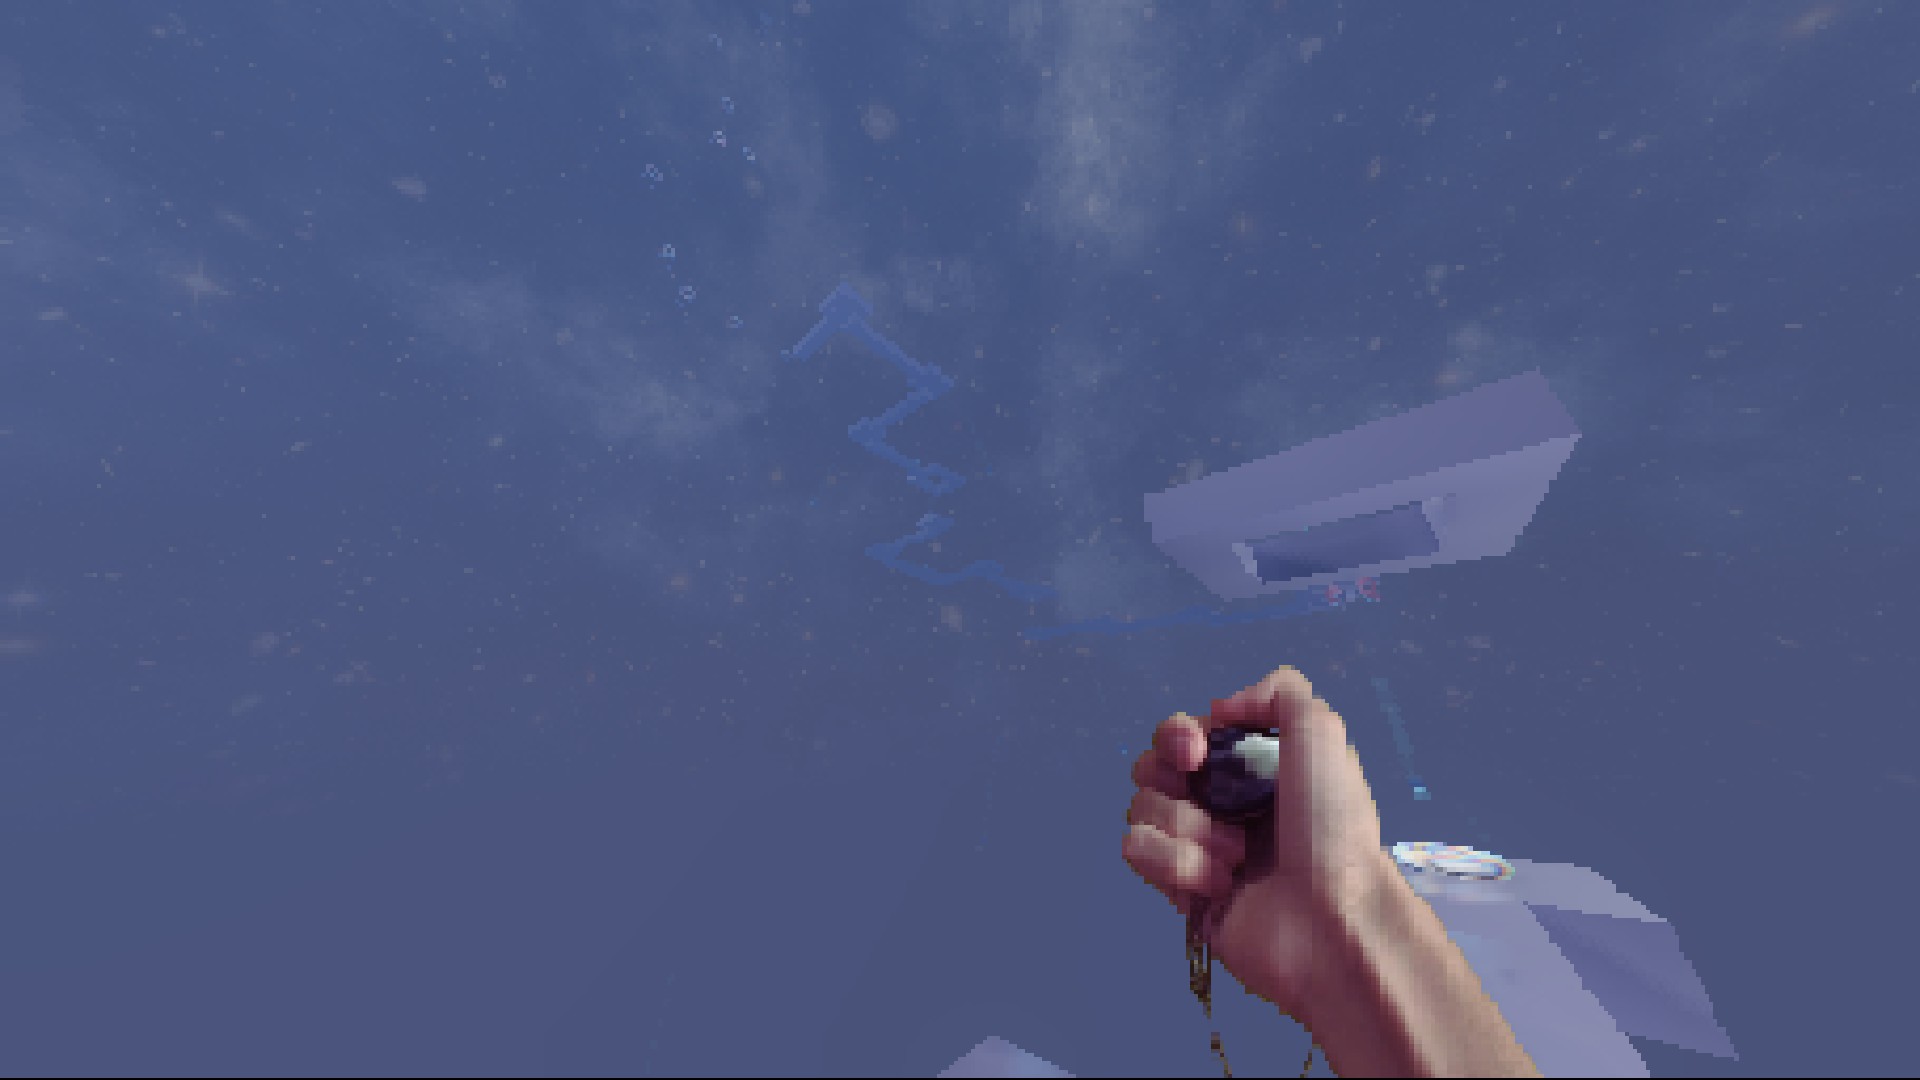
Blasphemy Temple
Named after the Blasphemy, likely due to the challenge being a more difficult iteration on the accelo temple's concept, and the Blasphemy's connection to obtaining accelo blocks. One of the more difficult of the temples without proper tools, made even more difficult by the many ball shepach blocks' projectile balls to dodge while platforming on the accelo blocks. With a rope tool and glider glove the platforming can be made more forgiving and falls from the temple can be recovered. The longer the rope tool's range, the easier the course can be, as you are able to skip large sections or even the entirety of the temple using a mudra or gyro hook. Without a rope tool, it is highly recommended to break any ball shepach blocks ahead before continuing forward.
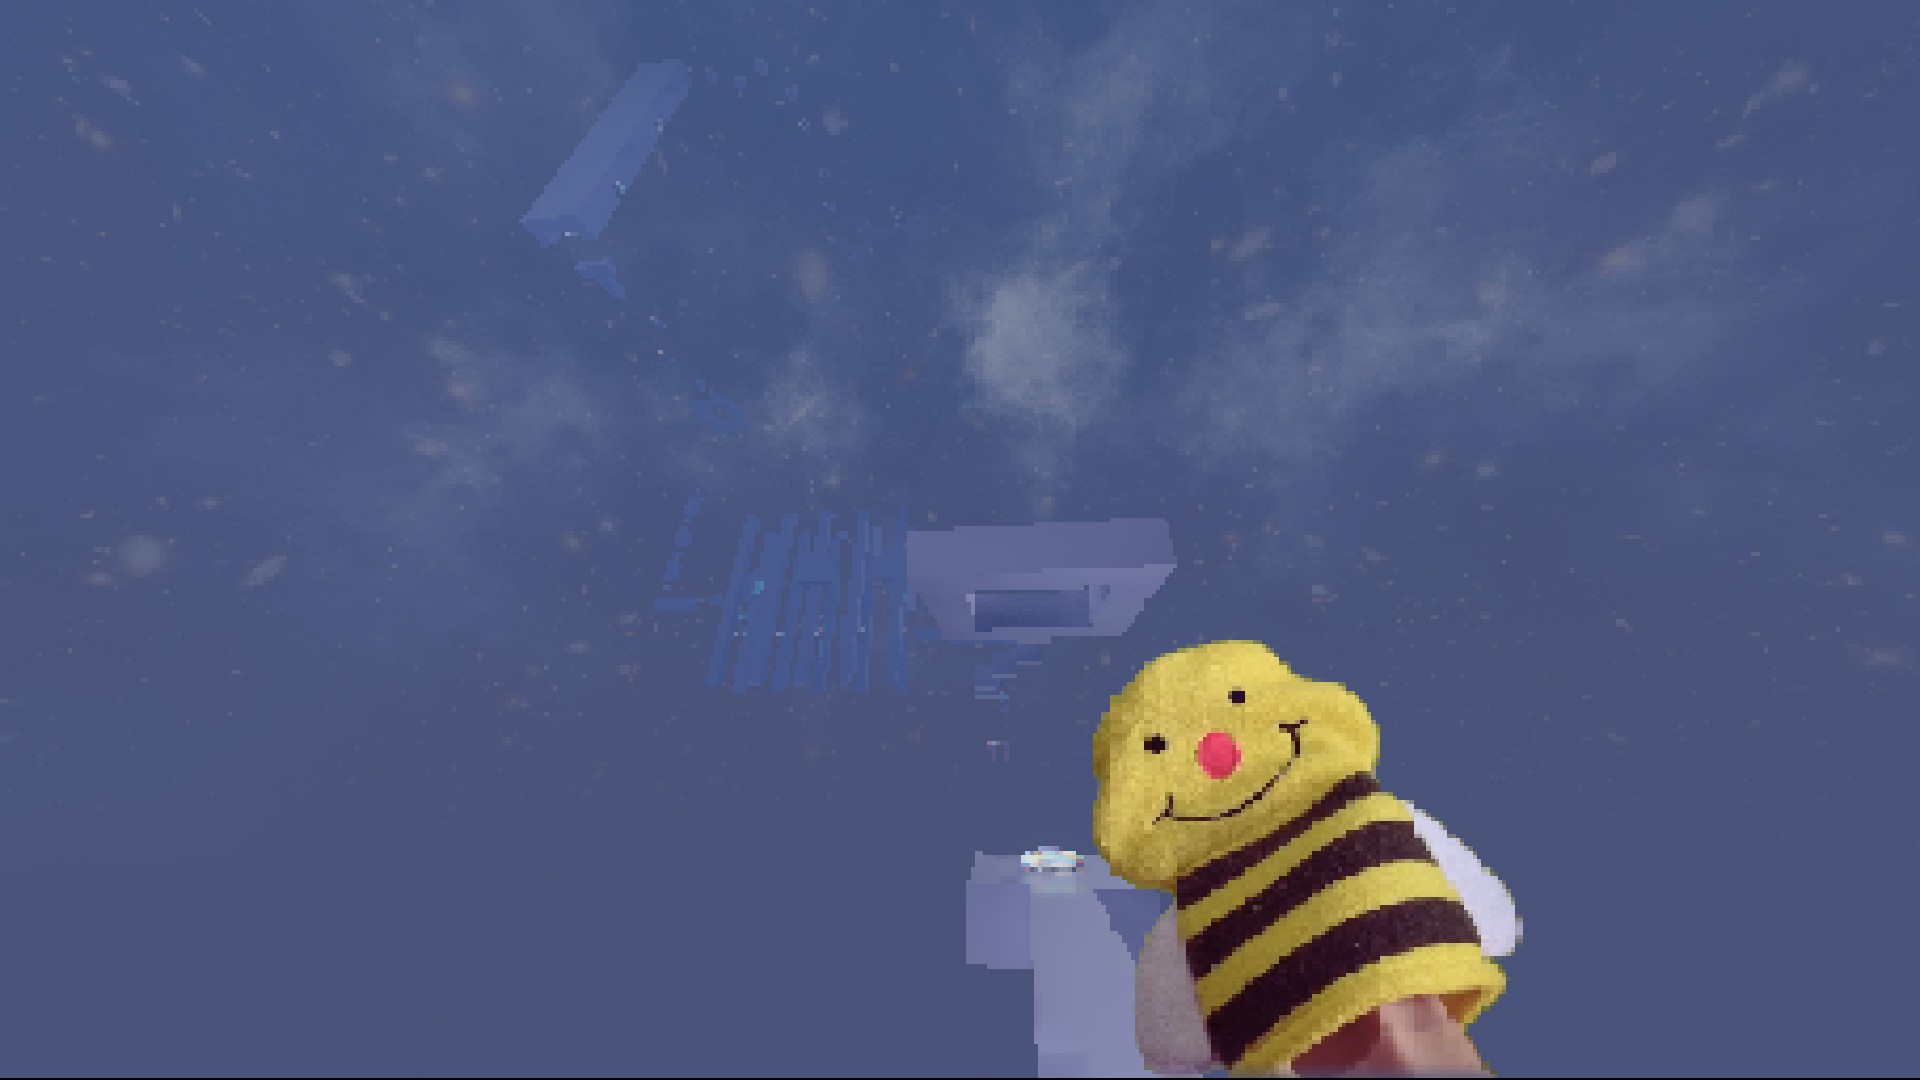
Boulder Temple
Named after the clay boulder projectiles all throughout the temple. It's not too difficult a temple with a weapon to take care of the many Manikins. There are many blessing cubes littered around the temple, including in hidden backfacing corridors. A pickaxe is also useful for removing the many clay shepaches.
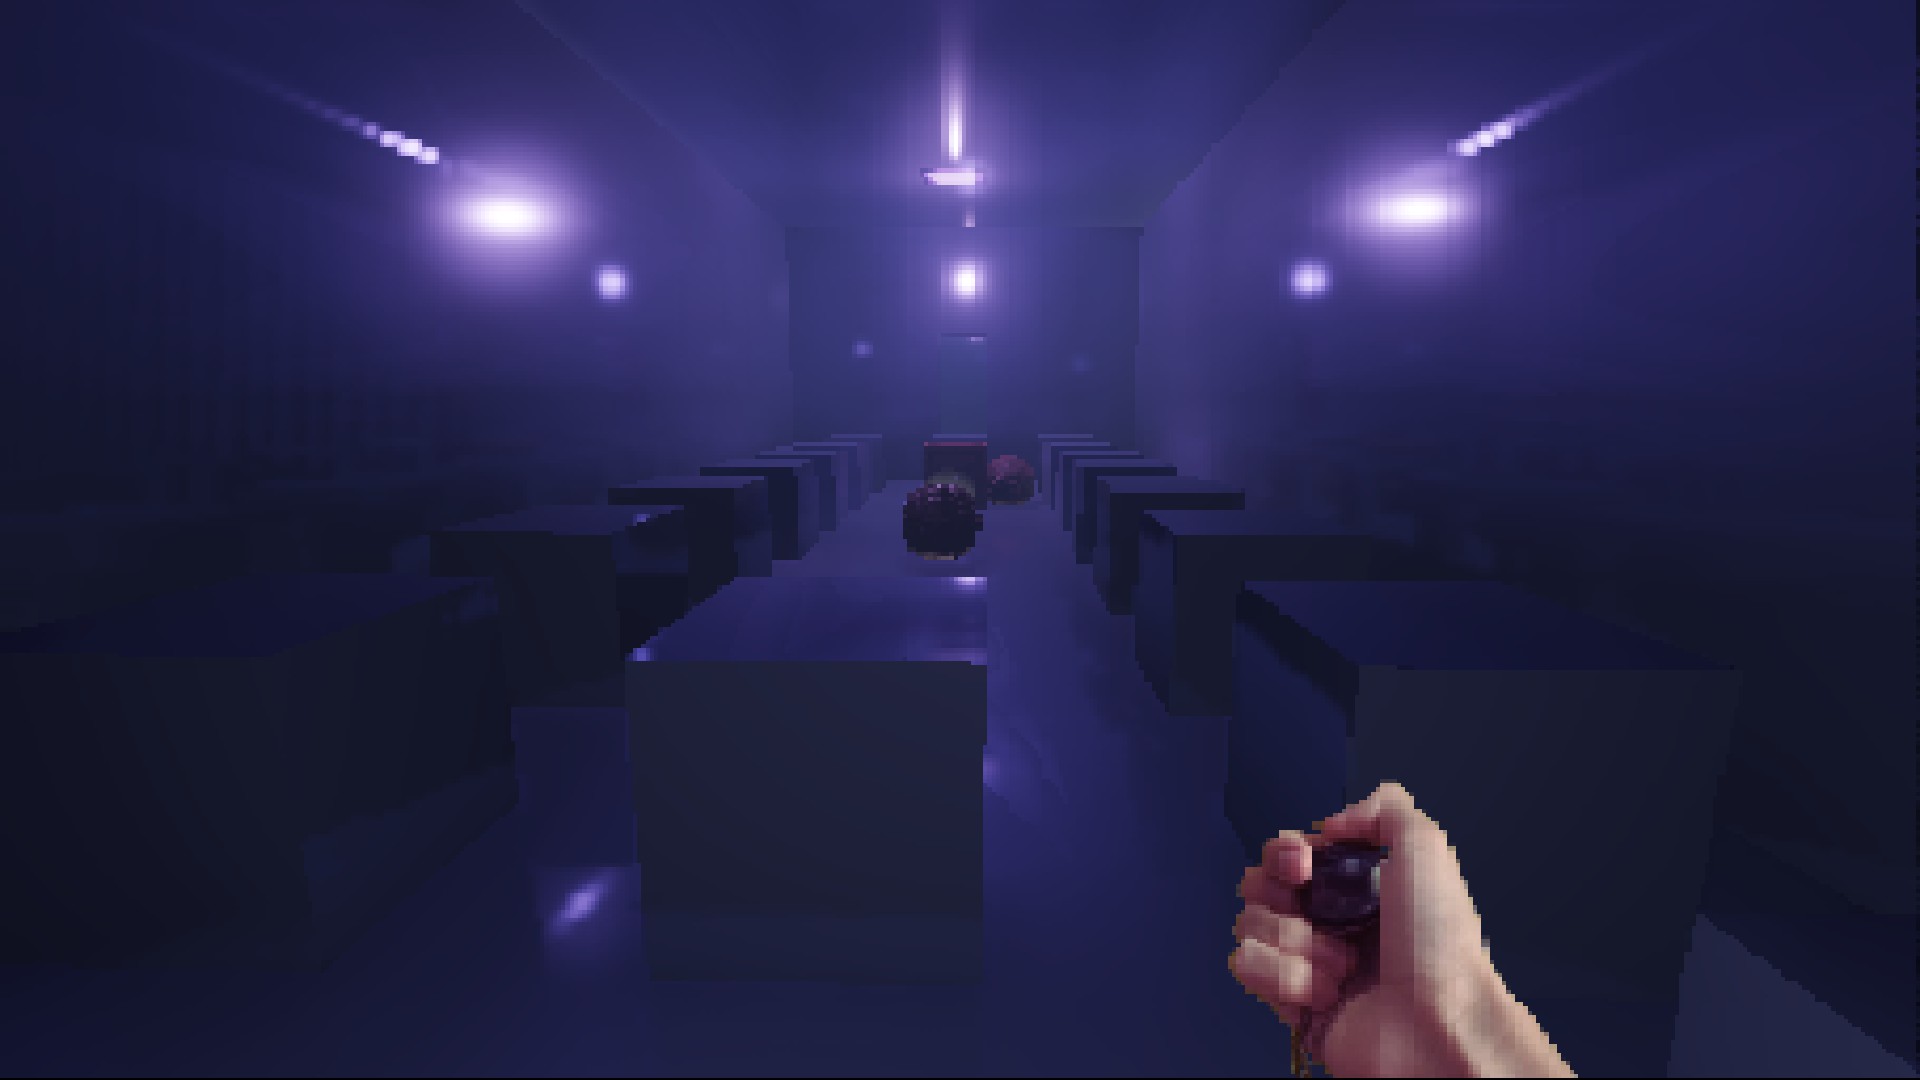
Maria Temple
Named after Maria, as the temple is shaped in her image. If you have a rope tool the challenge is trivial, save for four Mercury spawned at the top surrounding the exit. Without a rope tool the challenge is very difficult, and it is recommended to use a glider glove to make the platforming easier and more forgiving. A weapon isn't stictly necessary to kill the Mercuries, and if they don't throw themselves off the edge, they can be easily hit them off the edge to get rid of them. Hidden within the cracks of Maria's head are a couple of blessing cubes if you care to look for them.
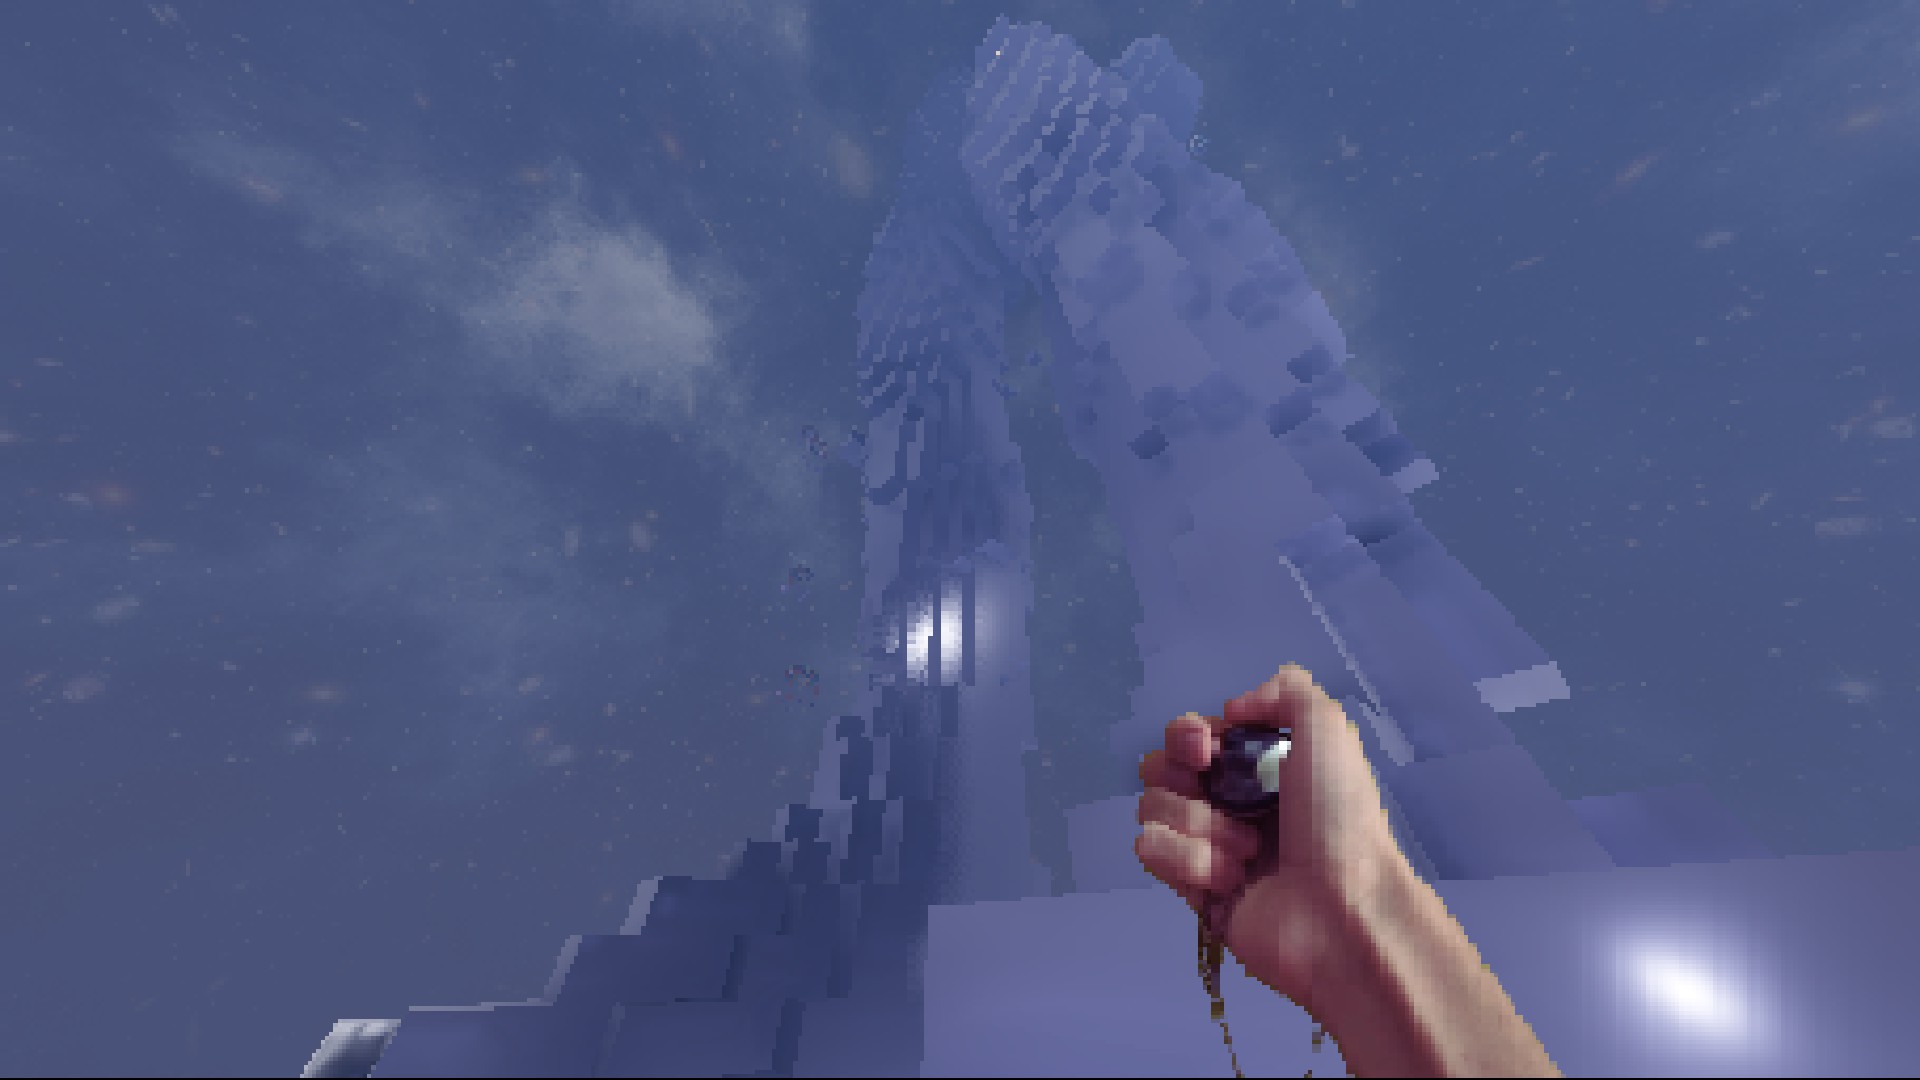
Menger Temple
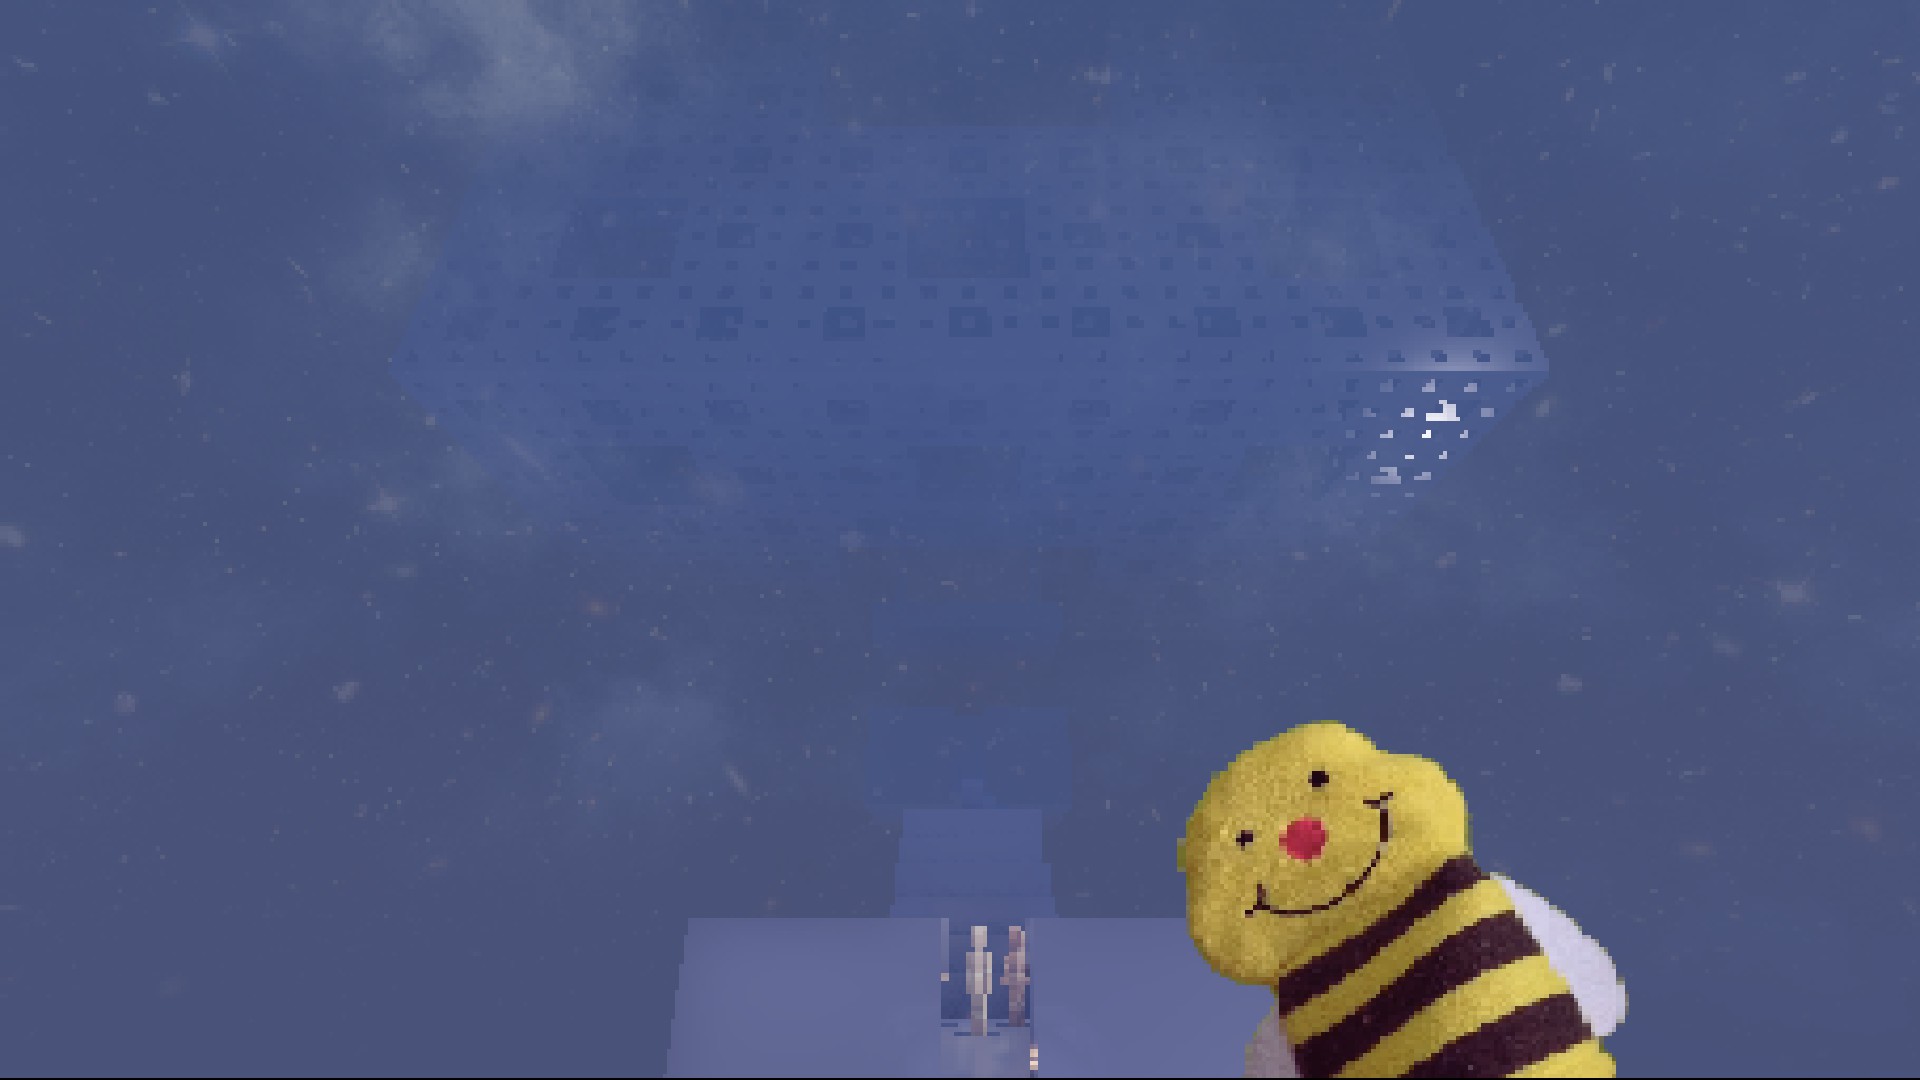
Named after the Menger Sponge fractal, which can be seen in the sky from the temple entrance and surrounds its many floors, as well as in the sponge block. Without a rope tool or lots of health and a weapon, this can be a difficult challenge due to the dozens of Manikins. With a rope tool the bulk of the temple can be skipped, but you'll miss out on the blessing cubes on each floor. A glider glove can make the bit of platforming a little easier and more forgiving.
Vertical Temple
Named after the vertical ascension up the slope and tower of this temple. The vertical temple isn't too difficult, but is easier with a weapon to kill the many Goo and a pickaxe to destroy the many ball shepach blocks. Within the tower at the top are three blessing cubes. On the final straightaways at the top of the tower, it is recommended to either bat away or make timed jumps over the projectiles.
Attempts & lives
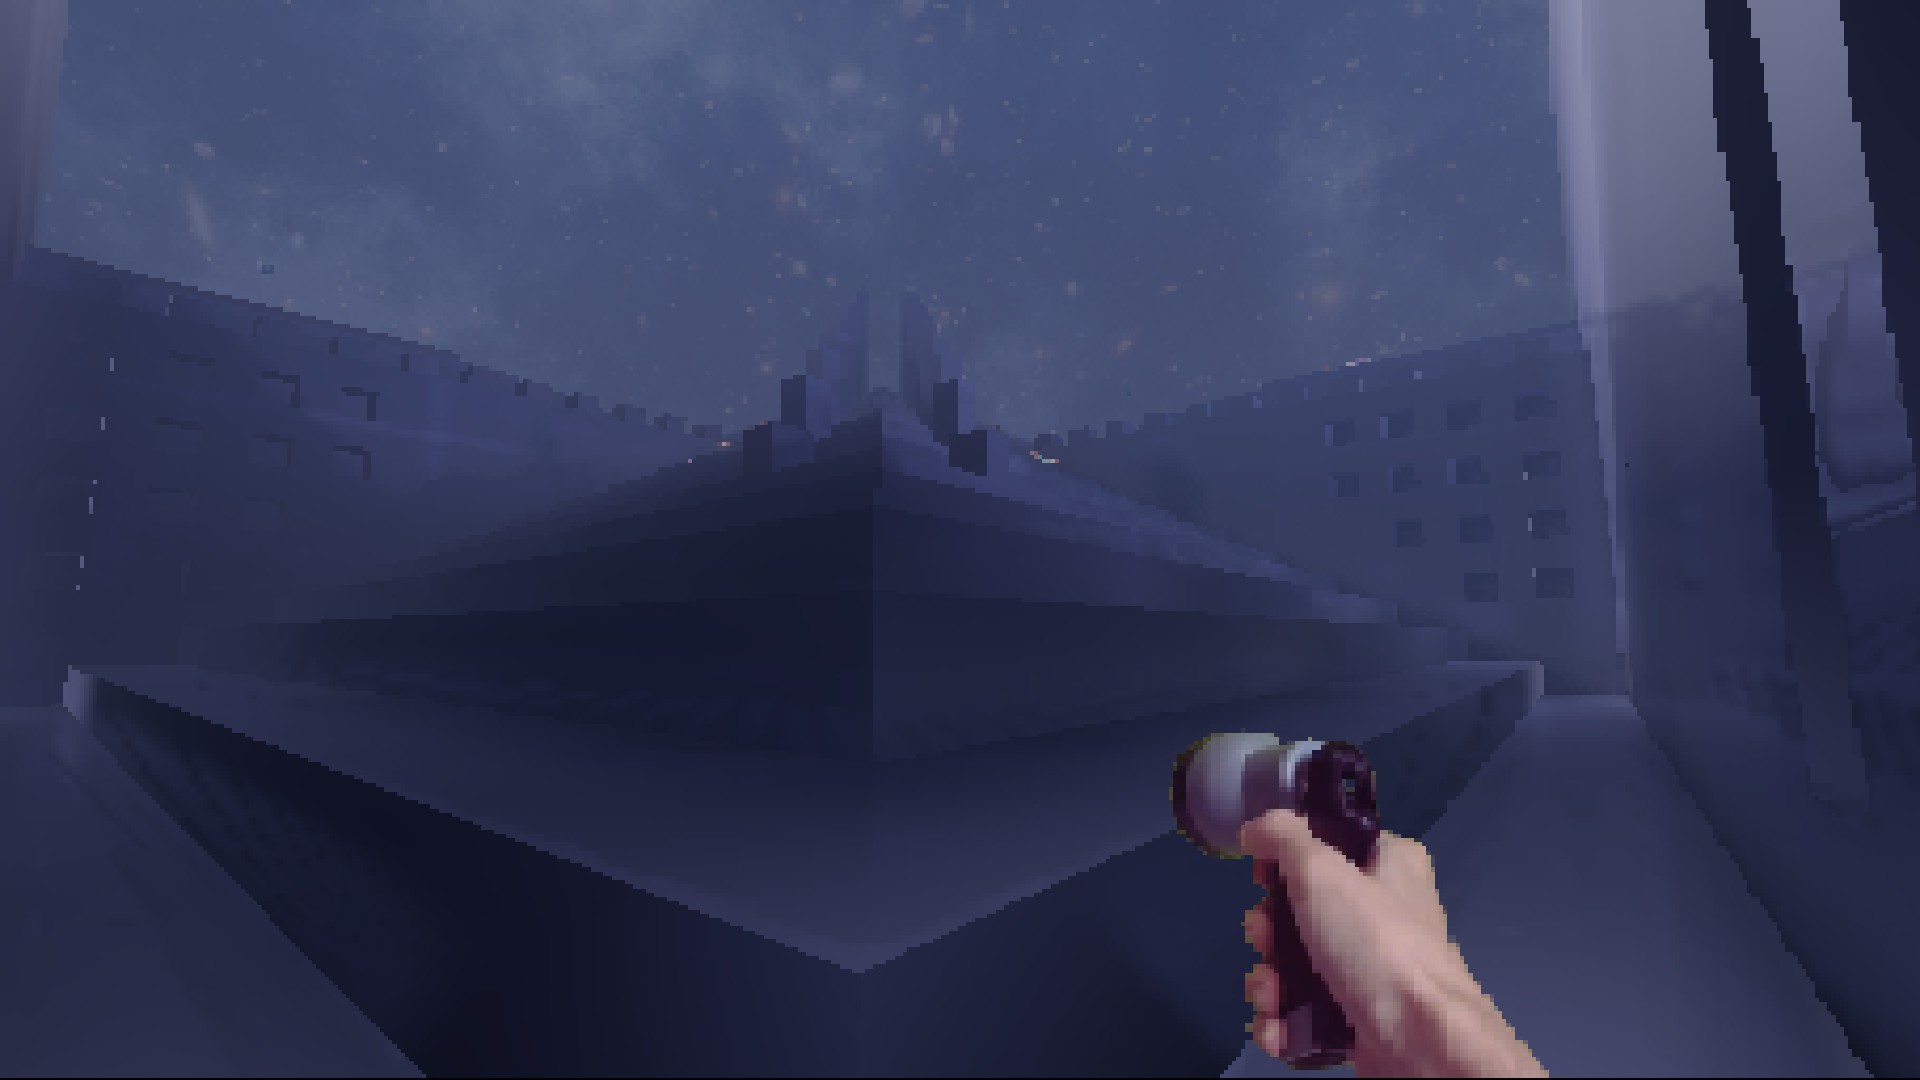
main.gd initialises challenge_attempts_remaining = 2 when a challenge starts and saves it with the qualia. On death inside a challenge, the game opens a status menu, decrements the counter, and revives you inside the arena. Burn through both extra lives and the third death ends the run — you are sent back to Naraka with no bead.
| Death | Outcome |
|---|---|
| 1st | Status cinematic ("2 attempts left"), revive in arena — 1 retry remaining |
| 2nd | Status cinematic ("1 attempt left"), revive in arena — 0 retries remaining |
| 3rd | Status cinematic ("0 attempts left"), run ends, returned to Naraka empty-handed |
Challenge attempt lost cinematic
Plays after each death inside a challenge, counting down the remaining attempts. A cross cracks and fades for the attempt you just spent.